Introduction
Natural light is one of the most powerful tools in a photographer’s arsenal. When used effectively, it can produce stunning images that are both dramatic and full of character. This article will explore various tips and techniques for shooting with natural light.
Understanding Natural Light
Natural light has unique characteristics that can influence the mood and atmosphere of your photos. Here are some types of natural light to be aware of:
- Direct Sunlight: Strong, direct sunlight can create high contrast and sharp shadows.
- Indirect Sunlight: Sunlight scattered by clouds or objects creates softer, more diffused light.
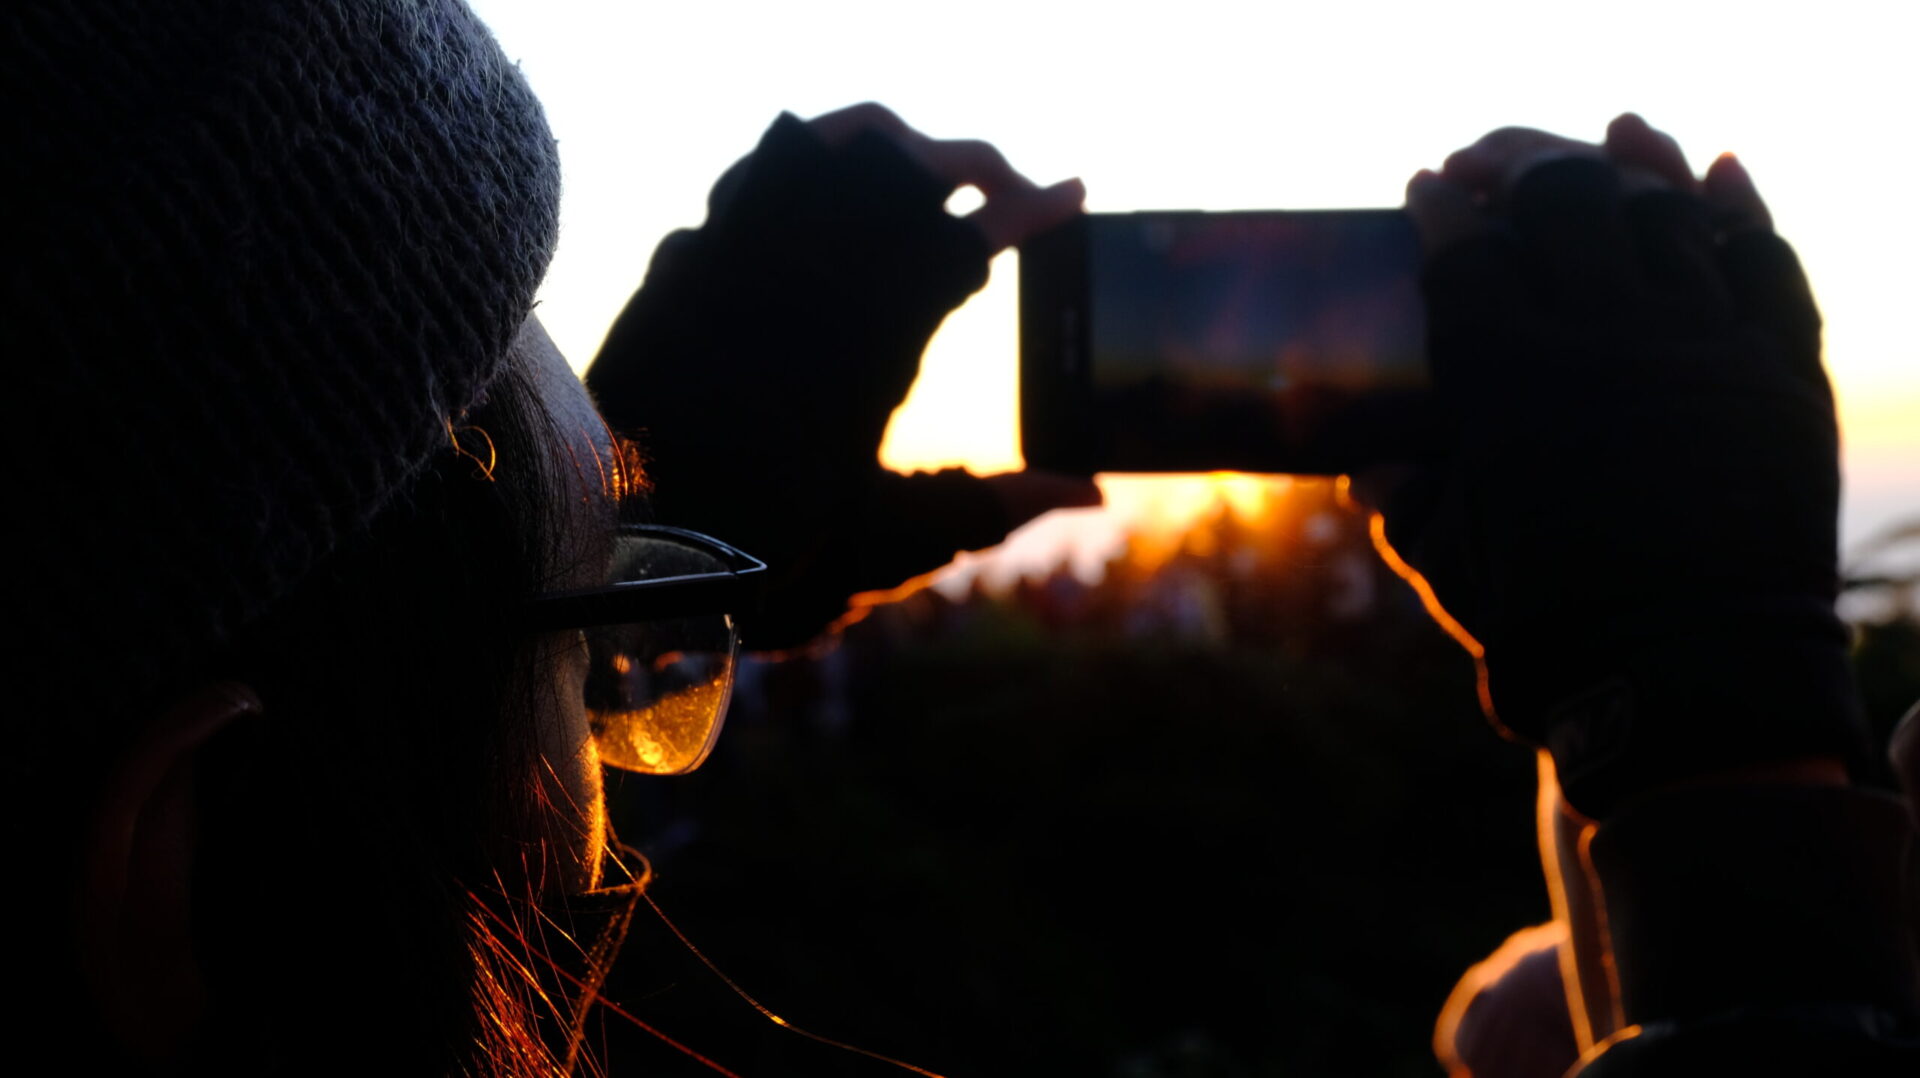
- Golden Hour: The hour after sunrise or before sunset, offering warm, soft light ideal for portraits and landscapes.
- Blue Hour: The short period before sunrise or after sunset, providing a cool, blue hue perfect for creating moody and dramatic atmospheres.
Practical Tips for Shooting with Natural Light
- Embrace Natural Light:
- Golden Hour: Leverage the warm, soft light for beautiful images.
- Blue Hour: Experiment with the cool, blue tones for dramatic effects.
- Indirect Sunlight: Seek shade or use a diffuser to soften harsh light.
- Master White Balance:
- Manual White Balance: Adjust white balance to match the color temperature of the light.
- Auto White Balance: Let your camera automatically adjust white balance.
- Experiment with Angles and Composition:
- High Angle: Creates a sense of smallness or vulnerability.
- Low Angle: Creates a sense of grandeur or power.
- Eye Level: Provides a neutral perspective.
- Rule of Thirds: Divide the frame into thirds both horizontally and vertically for visually appealing compositions.
- Utilize Reflectors and Diffusers:
- Reflectors: Bounce light onto your subject to fill in shadows.
- Diffusers: Scatter and soften light.
Shooting in Different Scenarios
- Portrait Photography: Find locations with soft light, such as under trees or near windows. Position your subject so that the light falls softly on their face.
- Landscape Photography: Take advantage of the golden or blue hour for dramatic colors. Look for interesting compositions and pay attention to the horizon line.
- Product Photography: Use natural light to create a natural and elegant look. Place your product near a window or outdoors.
Overcoming Challenges
- Harsh Light: Use a diffuser to soften the light.
- Low Light: Increase your ISO or use a wider aperture.
- Unwanted Shadows: Use a reflector to fill in shadows.
Additional Equipment
- Reflectors: Bounce light onto your subject.
- Diffusers: Scatter and soften light.
- ND Filters: Reduce the amount of light entering the sensor.
- Polarizers: Reduce reflections and increase color saturation.
Conclusion
Shooting with natural light is a rewarding way to create beautiful and authentic images. By understanding the characteristics of natural light and applying the tips in this article, you can elevate your photography.
FAQ
- What is the golden hour and blue hour? The golden hour is the hour after sunrise or before sunset, offering warm, soft light. The blue hour is the short period before sunrise or after sunset, providing a cool, blue hue.
- How do I manually set white balance? Use a gray card or white balance presets on your camera.
- What’s the difference between a reflector and a diffuser? A reflector bounces light, while a diffuser scatters light.
- What is an ND filter and what is it used for? An ND filter reduces the amount of light entering the sensor, allowing for slower shutter speeds in bright conditions.
- How can I deal with changing light conditions? Use exposure bracketing to capture multiple exposures and combine them in post-processing.
With practice and experimentation, you’ll become more proficient in harnessing natural light to create stunning photographs.